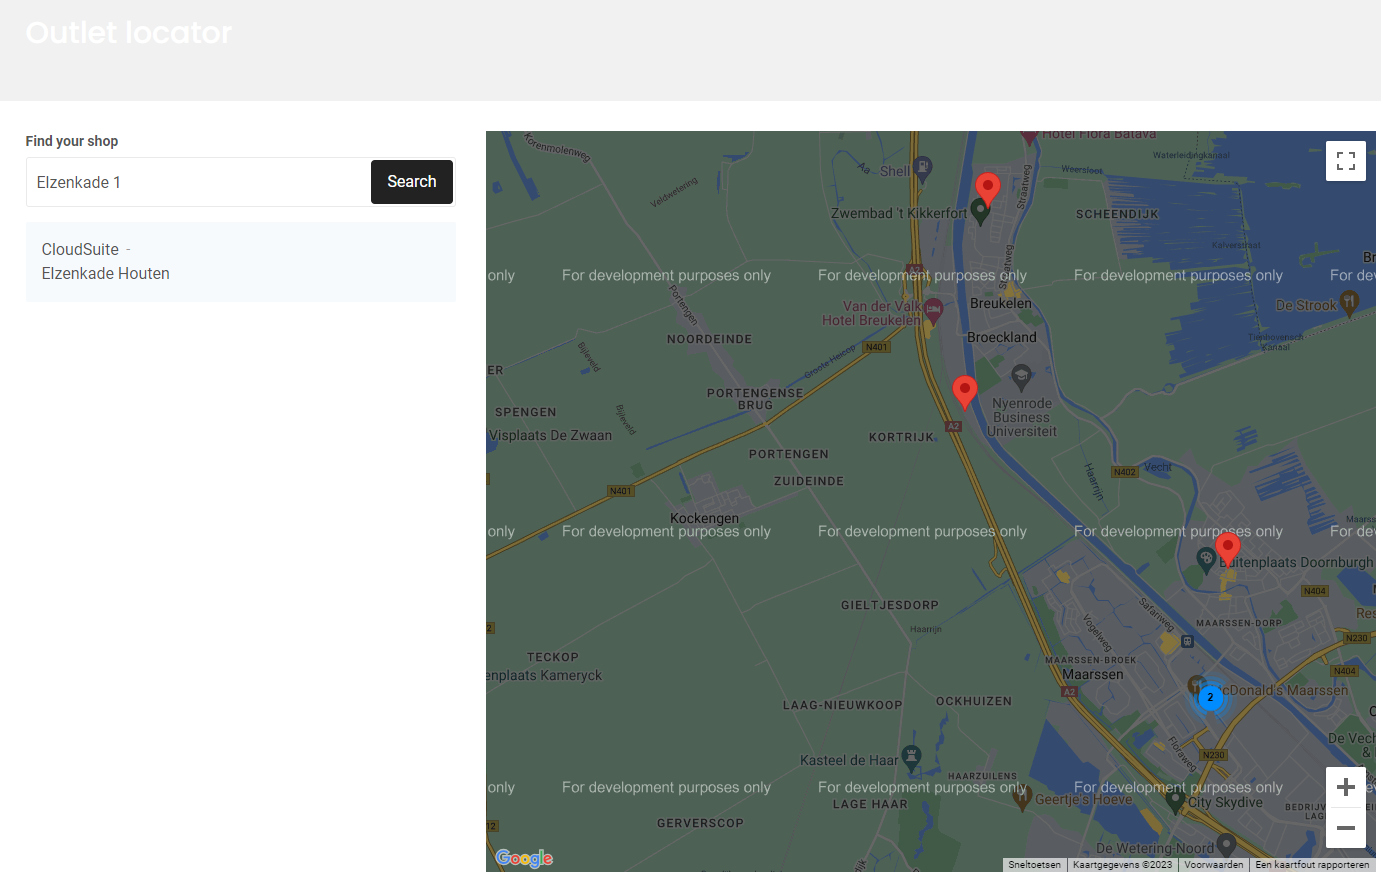
Create a Shop for the Outlet (Store) Locator
Follow these steps to create a shop outlet so it appears in the Store Locator of your webshop.
Create the Outlet
- In the CloudSuite App, go to Stores > Shop Outlets
- Click New.
- Enter the Name of the outlet. This name is shown in the locator.
- As the Outlet Type, select Outlet / Pickup point.
- Select the Company for the outlet.
General
In the General tab you fill out all the
- Select the Party for the Outlet
- In Address, select an existing address or create a new one (See:
- The Import Key is filled by the ERP integration and can be left blank.
Settings
In the Setting tab you can configure the SEO Settings for the Outlet page. Both fields can be translated.
- Add a Page Title for the Outlet page (when available)
- Add a Meta Description for the Outlet page
- Click Save
Shops
In the Shops tab you can assign the Outlet to one or more Shops.
- Select the Shops where you want the outlet to be displayed in the Outlet locator.
Configure the Adress (if required)
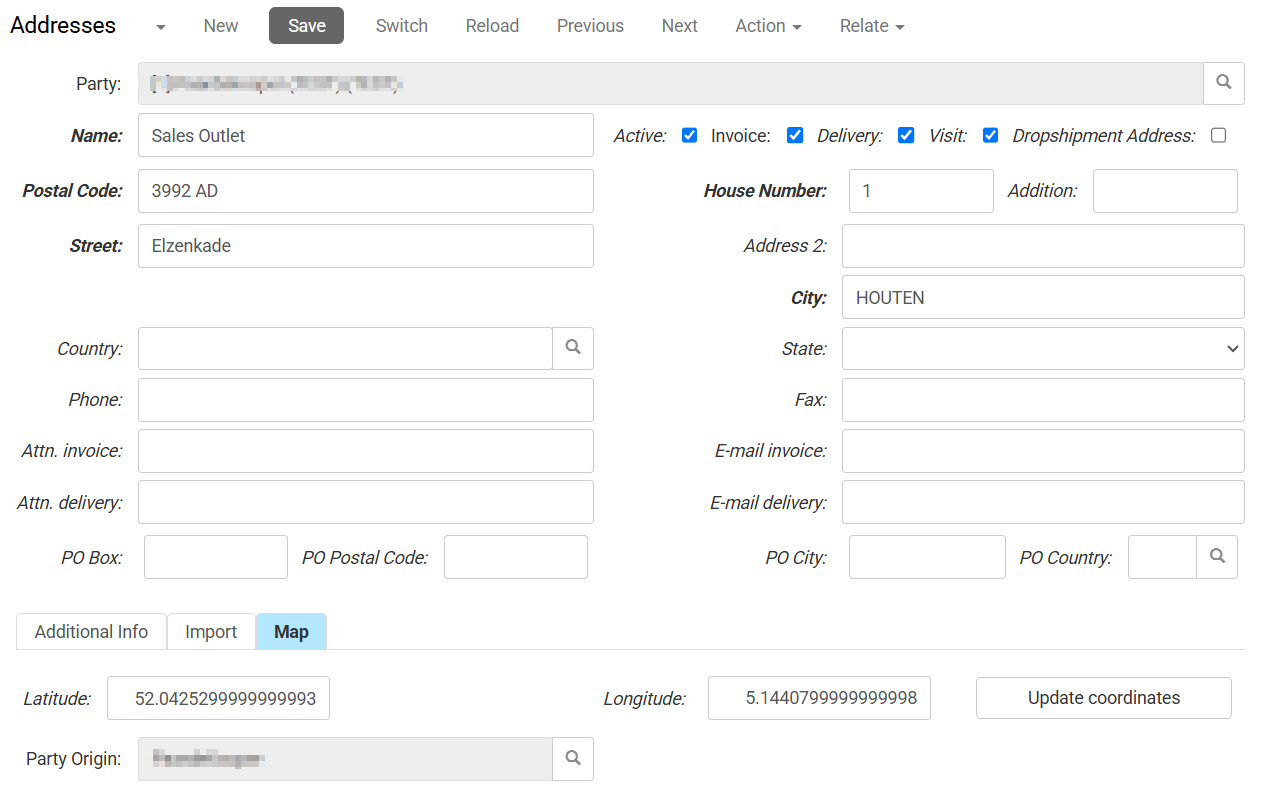
- In the CloudSuite App, go to Customers > Addresses.
- Open the address for the current Outlet.
- Verify if the following fields are correct; Postal Code, House Number, Street, City, and Country
- Go to the Map tab.
- Enter the Latitude and Longitude coordinates. These coordinates determine where the outlet is shown on the map. When missing, the outlet will not appear in the Store Locator.
To obtain the coordinates of a location, you can use Google Maps. Search for the address and follow the instructions provided at https://support.google.com/maps/answer/18539.
For example, to get the coordinates for CloudSuite BV at Elzenkade 1 in Houten, look this address up in Google Maps. Then right-click and copy the coordinates one by one by clicking on them.
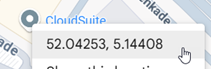
- Latitude = 52.04253
- Longitude = 5.14408
- In the CloudSuite App, go to Stores > Shop Outlets and click New to create a new outlet.
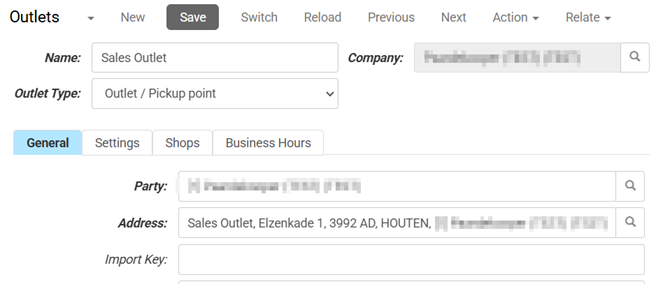
- In the outlet details, go to the General tab:
- Enter the Name of the outlet. This name is shown in the locator.
- As the Outlet Type, select Outlet / Pickup point.
- Select the Party of the outlet.
- Select the Address of the outlet that you created in the previous step.
- Optionally, enter a Description that can be shown in the locator. This can be translated.
- Go to the Shops tab and select the webshop where you want the outlet to be displayed in the locator.
Final Steps
When the configuration is done, some processes have to run to make the new outlet appear on the shop:
- Click Save
- Clear the Outlet cache.
- Wait for the search index to update or request a manual update. This ensures the outlet can be found using the search bar in the Store Locator