The Layout Tab
The page content is created in the Layout tab. Content blocks are placed in widgets that are arranged one after the other inside a container. If you want to place content blocks next to each other, you need to split up the container into rows and place your widgets inside those.
-
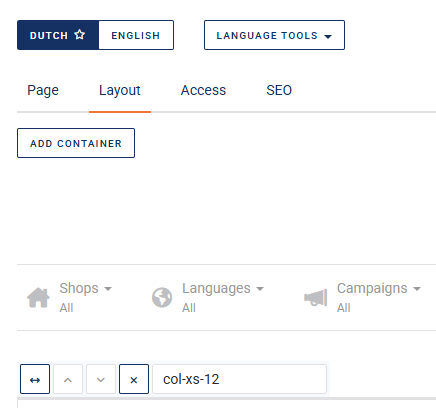
If you are defining the page content for specific Shops, Languages, and/or Campaigns only, choose them from the list. By default, the content will be shown in all shops and all languages, ignoring any campaigns.
-
You may select a Theme (if a theme has been defined and activated in the front-end) to override the standard visual appearance of the page.
-
For all Product Listing Pages and Custom Pages, as well as for Core Blog Index and Blog Search Pages, you can choose whether to display breadcrumbs and/or the page header:

-
To start the design of your page from a layout template, select Options > Load Layout Template.
Containers
When you create a new page, one container is created automatically. A container has one main setting, which determines whether its content spans the whole width of the browser window or keeps the whitespace set for the shop. Therefore, the only reason why you would create additional containers is when you want to switch to full-width and back, possibly multiple times.
Every time you want to switch width, you need to create a new container. To do so, click ADD CONTAINER.
A toolbar is shown near the top of every container.
- To set the container to full width, click the left-most icon. (Click again to undo this change.)

- If there are multiple containers, each of them can be moved up or down by clicking the up and down arrow icons.

- To delete the container, click the right-most icon.
- To style the container with a particular CSS class, enter the class name in the text box. Note that this text box must never be left blank.
Rows
By default, all widgets are placed below top to bottom inside the container. By creating multiple rows, you can place widgets next to each other instead.
- To add a row, click Layout in the top-right corner of the container. An item labeled Row pops up, which you can drag-and-drop to the desired position.

- To change the grid on which widgets can be placed in a row, right-click anywhere in the row and select Edit. This opens the row editor.

- To duplicate a row (including all the widgets that it contains), right-click anywhere in the row and select Duplicate.
- To delete a row (including all the widgets that it contains), right-click anywhere in the row and select Delete.
- To move an entire row, you can drag-and-drop it to the desired position:
Widgets
Widgets hold the actual content: most notably, images or text. They may be placed directly inside a container, or they may be placed inside a row which is placed inside a container.
Personalization
You can personalize pages in your webshop for a specific group of customers by using customer segments. This is a additional functionality which is not enabled by default. In order to enable this functionality, please contact your consultant or Customer Support.
Previewing the Page
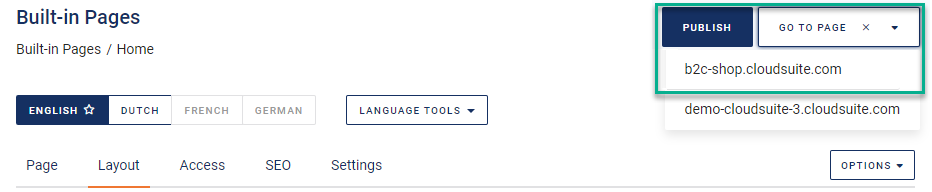
Until you publish your changes, they are not visible in the webshop. As soon as your changes have been saved, however, you can preview them in the test environment: click GO TO PAGE and select the test shop.
A button labeled CMS Tools along the right-hand side of the screen lets you open a sidebar that shows in-depth information and lets you carry out a number of further actions.
Saving and Publishing
To ensure that all changes are correctly saved, follow this order:
- Save your widget.
- Save your page.
- Publish your changes.