Creating a Tag Page
A tag page displays search results based on a tag associated with one or more products. The way of display depends on the theme of the shop and the settings in the CloudSuite Admin.
- In the CloudSuite Admin, go to Pages > Product Listing Pages and click Create page.
- When filling in the details, pay special attention to the following.
Page
-
Give your page a Name to recognize it within CloudSuite Admin.
-
Select the desired Tag by clicking the SELECT button and searching for the tag.

-
Ignore the Brand and Tree fields. These do not apply to a tag page.
-
Under Options, check the box Active if you want to make the page immediately visible.
Layout
The layout is part of the design of the shop template. Note that you need to select a layout before adding content to the page, since you cannot change the layout afterwards.
- Select the Layout for the page. The drop-down lets you choose from the following standard layouts:
- 1 Column
- 2 Columns (left sidebar)
- 2 Columns (right sidebar)
- Under Options, check Show breadcrumbs and Show Page Header if you want to show these at the top of the page. The page header can also be shown in the body of the page.
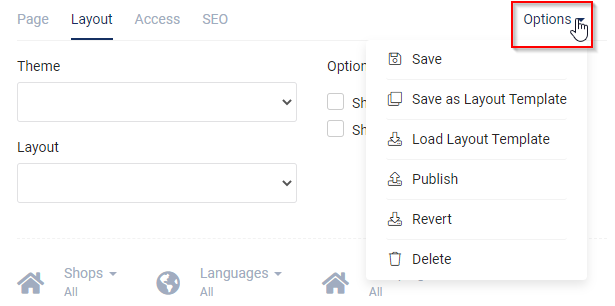
You can create a template for tag pages. To work with templates, use the Options menu:
Access
- Choose the Campaign (if applicable), Shops, and Languages for which this page is visible.
SEO
- You may check No Index to instruct search engines not to include the page in search results.
- You may check No Follow to instruct search engines not to consider (external) links on the page for ranking.
- If SEO Analysis has been set up, you can click START NEW SEO ANALYSIS and select an environment from the list to analyze how well your shop is SEO-optimized.
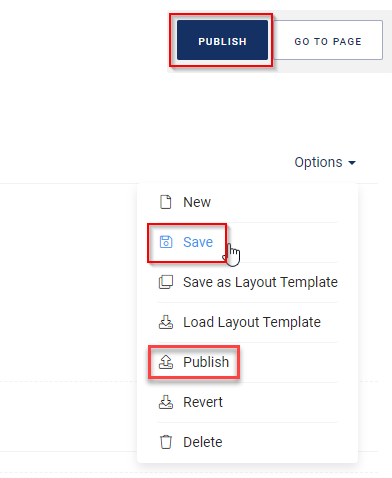
Saving Your Page
When you are done, select Save from the Options menu to save the page. Use the Publish button to publish the page online.