Creating a Blog Index Page
A blog consists of two things: the blog index page, which shows an overview of the most recent blog posts, and the individual blog posts themselves. This article describes how to create a blog index page.
- In the CloudSuite Admin, go to Pages > Home, Blogs, Errors, Outlets and click Create page to create a new page, making sure that you set the detailed page Type to Blog Index.
- When filling in the details, pay special attention to the following.
Page
- Give your page a Name to recognize it within the CloudSuite Admin.
- Optionally, choose a Group that the index is for.
- Under Options, check the box Active if you want to make the page immediately visible.
Layout
The layout is part of the design of the shop template. There is a default layout template for blog posts and newsletters. Note that you need to select a layout before adding content to the page, since you cannot change the layout afterwards.
- Select the Layout for the page. The drop-down lets you choose from the following standard layouts:
- 1 Column
- 2 Columns (left sidebar)
- 2 Columns (right sidebar)
- Under Options, check Show breadcrumbs and Show Page Header if you want to show these at the top of the page. The page header can also be shown in the body of the page.
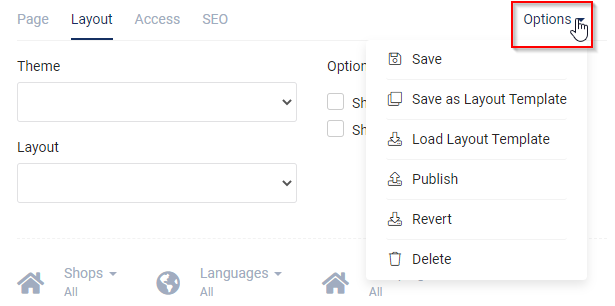
You can create a template for blogs. Each Group then has its template with a fixed format, such as news pages, blog feeds, etc. To work with templates, use the Options menu:
Access
- Choose the Campaign (if applicable), Shops, and Languages for which this page is visible.
- Specify if Authentication applies.
SEO
- The Page Title is the name of the page within the shop.
- Under Meta description, enter the SEO text for this page.
Saving Your Page
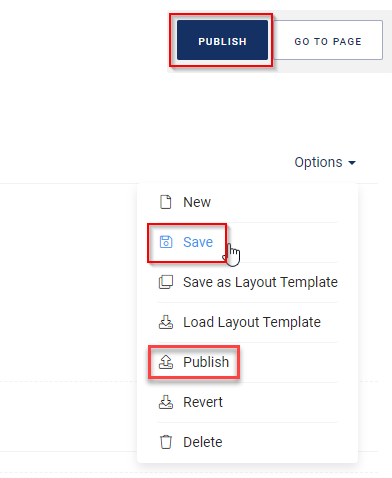
When you are done, select Save from the Options menu to save the page. Then select Publish from the same menu, or click the Publish button to publish the page online.